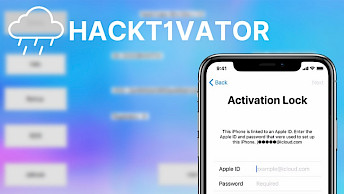
Take off iPhone Locked to Owner without Password
The "iPhone locked to owner" issue is a common challenge that many users face, particularly those who have purchased a second-hand device or inherited an iPhone without knowing the previous owner’s Apple ID credentials. This situation can be frustrating, as it limits access to the device, rendering it almost useless without the correct credentials. Understanding how to bypass this lock is crucial for anyone who finds themselves in this predicament. This article aims to provide a comprehensive guide on how to take off iPhone locked to owner without password, including both official and unofficial methods.
Use MagFone Activation Unlocker Bypass iPhone Locked to Owner
The term "iPhone locked to owner" refers to a security feature implemented by Apple known as the iCloud Activation Lock. This lock is automatically enabled when the "Find My iPhone" feature is turned on. The primary purpose of this lock is to protect the device in case it is lost or stolen, making it difficult for unauthorized users to access the device. However, this feature can also become a hurdle for legitimate users who may have purchased a second-hand device or forgotten their Apple ID credentials.
MagFone Activation Unlocker is a software tool designed to help users bypass the iCloud Activation Lock on an iPhone, iPad, or iPod Touch. This can be particularly useful if you've purchased a second-hand device and are unable to contact the previous owner to remove the lock.
While it involves jailbreaking the device, which can void warranties, it’s a practical solution for those who find themselves locked out of their iPhones. Always ensure you understand the implications of jailbreaking and bypassing iCloud before proceeding. Below is a step-by-step guide on how to unlock iPhone with iPhone locked to owner using MagFone Activation Unlocker.
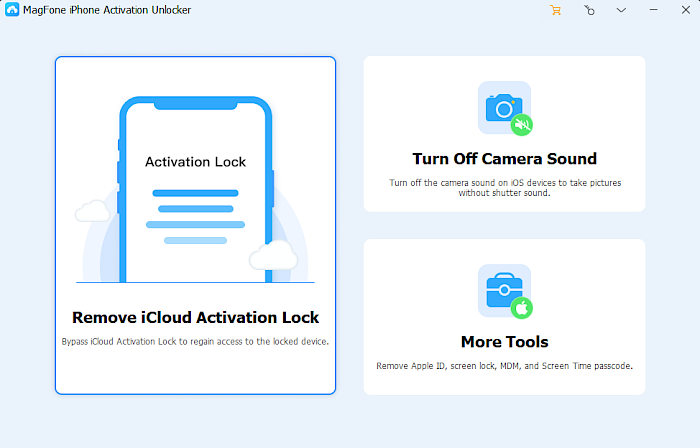
Step 1. Visit the Official Website: Go to the MagFone official website and download the MagFone Activation Unlocker software. After installation, launch MagFone Activation Unlocker. Select the Remove iCloud Activation Lock in the main interface, and click the Start button.
Step 2. Use a USB cable to connect the locked iPhone to the computer. Once connected, MagFone Activation Unlocker will automatically put your iPhone in Recovery mode and then manually put the locked iPhone in DFU mode.
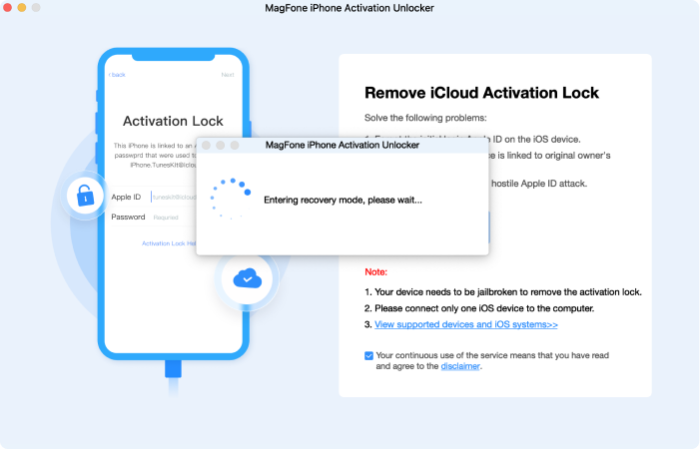
Step 3. To bypass the iCloud Activation Lock, MagFone will guide you through a jailbreak process automatically. Click Start button after jailbreaking, after that, MagFone will automatically put your iPhone in Recovery mode again.
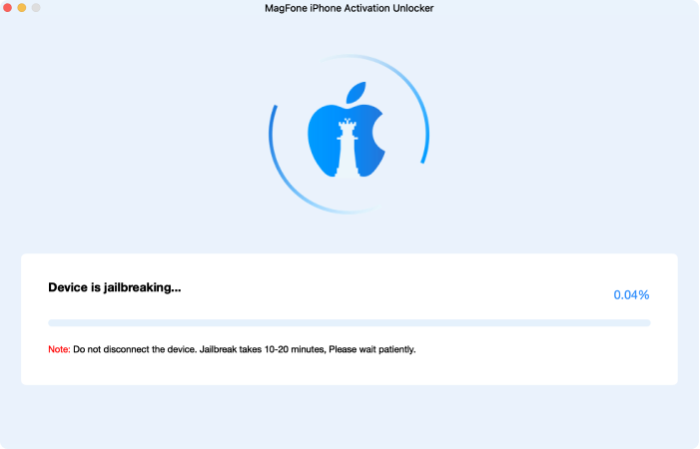
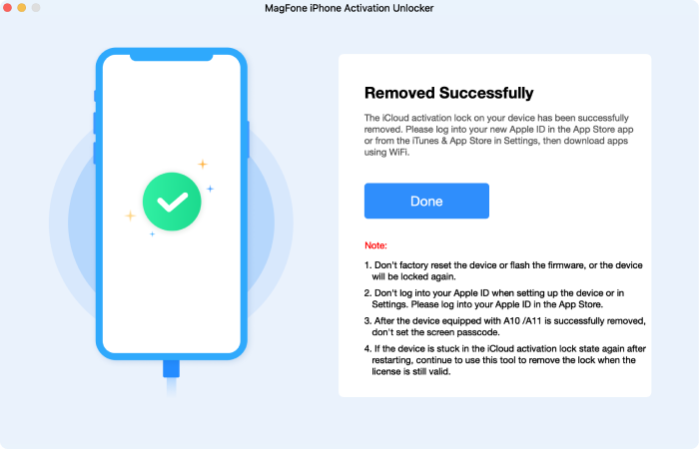
Step 4. Follow the corresponding steps displayed on the MagFone software to put your device into DFU mode, and MagFone Activation Unlocker will then start removing the iCloud activation lock from your iPhone. The bypass process will take a few minutes. During this time, it’s important not to disconnect your device or close the MagFone software. After the process is finished, MagFone will notify you that the iCloud Activation Lock has been successfully bypassed. Your device will restart, and you should now be able to access it without the iCloud lock.
Use DNS to Unlock an iPhone Locked to Owner
When an iPhone is locked to its previous owner, especially due to the iCloud Activation Lock, it can be challenging to access the device without the correct credentials. One potential workaround, although not officially supported by Apple, is the DNS bypass method. This method doesn’t fully unlock the iPhone, but it can help you access some functions of the device. Here’s a step-by-step guide on how to bypass iPhone locked to owner using DNS.
Step 1. Start by restarting your iPhone. This will take you back to the "Hello" screen, where you can begin the setup process. On the Wi-Fi network selection screen, choose a network to connect to. This step is crucial as the DNS bypass method relies on network manipulation.
Step 2. Access Wi-Fi Settings, tap on the "i" icon next to the Wi-Fi network you wish to connect to. Under the DNS section, select "Manual" and enter a DNS server address that supports the bypass. Here are some commonly used DNS servers for bypassing:
- USA: 104.154.51.7
- Europe: 104.155.28.90
- Asia: 104.155.220.58
- Australia and Oceania: 35.189.47.23
- South America: 35.199.88.219
Step 3. Enter the DNS server that corresponds to your region and save the changes. After entering the DNS, go back to the Wi-Fi selection screen and tap "Next." If the DNS bypass works, the iPhone will attempt to connect to Apple’s servers but will be redirected due to the modified DNS settings. You’ll see an option for "Activation Help" or a similar message. Tap on "Activation Help" or follow the instructions provided. You should gain access to a limited version of the iPhone’s functions, allowing you to use features like the internet, apps, and more.
Official Method to Bypass iCloud
How to unlock iPhone locked to owner? The most secure and legal way to unlock an iPhone locked to its owner is by following Apple’s official guidelines. This typically involves contacting the original owner and asking them to remove the device from their iCloud account. If this is not possible, you can reach out to Apple Support with proof of purchase to verify ownership. Apple may be able to assist in unlocking the device, provided you can prove that you are the rightful owner.


